Learn how to set up the WiFi connection for Victron Touch 50 and Touch 70, and access or troubleshoot your RV solar system remotely!

Prior to modifying any settings, make sure to update your system’s components to the latest firmware version.
The Cerbo GX includes built-in WiFi. Using WiFi it’s possible to connect to WEP, WPA, and WPA2 secured networks. Set up the WiFi connection for Victron Touch 50 or Touch 70 using these steps:
1. Select Menu located in the bottom right corner.
2. Select Settings, found at the bottom of the Device List.
3. Select WiFi located further down in the menu.
4. Select WiFi Networks.
5. Select the WiFi network name you to which you want to connect.
6. Select the password area and enter the correct password (using proper capitalization). If you entered an incorrect password, select “forget network”. Then enter the correct password for that network.
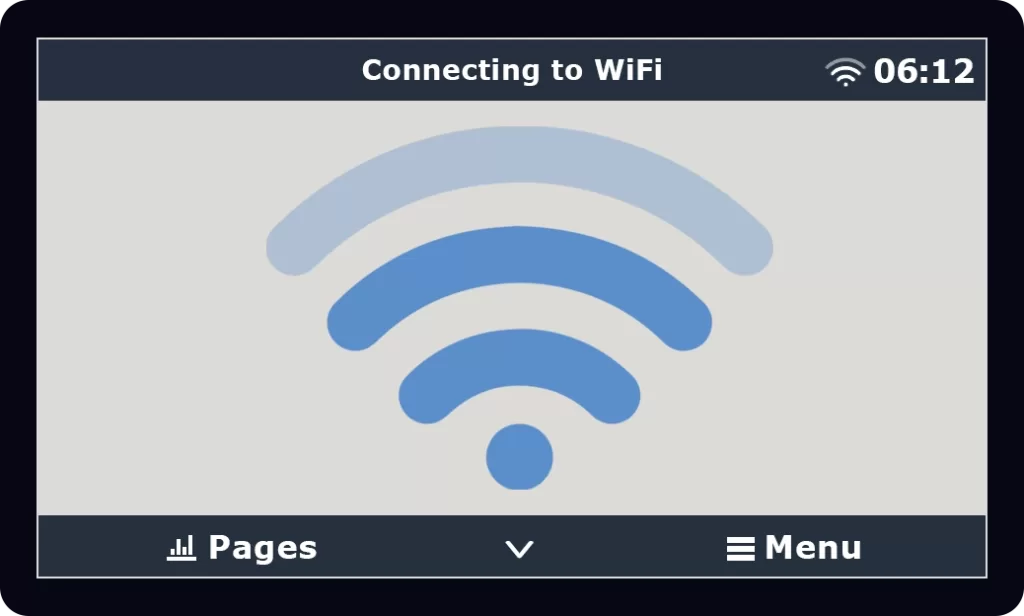
7. Wait for the connection to occur, and verify it’s properly connected. State will show Connected and a WiFi symbol will appear in the top of the Menu screen.
Note A: WPS (WiFi Protected Setup) is not supported.
Note B: The Cerbo, not the touch screen directly, is connecting to the WiFi. Install the WiFi router close enough to the Cerbo for it to receive a strong signal.
Note C: When the Cerbo GX finds multiple WiFi networks of which the password is known, the strongest network is selected automatically. When the signal of the connected network becomes too weak, it will automatically switch to a stronger network if it knows the password of that network.
Additional information and how to hardwire an internet connection to the Cerbo GX can be found in the Cerbo manual here.
